In a few weeks time it will be 379 years since there was fought one of the most important battles in the Civil War. It happened on our doorstep and this month I want to take you there.
The battle took place some 40 miles west of Huntingdon along the A14, a 45 minute drive. Turn off the A14 at either junction 1 or 2, head for the village of Naseby and turn north back over the A14 heading for the village of Sibbertoft (see the OS extract). A mile or so up the road on the left is a small car park/lay-by and on the ridge on your left is a monument, walk up to it. From here you can see the whole of the battlefield.
So why was the battle fought here? Whilst the war was certainly not lost things were not looking too good for Charles I and the Royalist cause at the beginning of 1645. The north of England had been lost and the city of Chester was under siege. To try to bring the King to battle the Parliamentary army commander Sir Thomas Fairfax was ordered to advance on and threaten the Kings headquarters at Oxford. (Oliver Cromwell, although a senior army commander and in charge of the embryonic New Model Army, was not in overall charge of the Parliamentary forces as is often assumed). Prince Rupert, the Kings nephew and senior commander in the Royalist army, advised the King to march north to relieve Chester and to join with Scottish supporters coming south. However with Oxford threatened it was decided to attack the Parliamentary stronghold at Leicester to draw Fairfax away from Oxford. The ruse worked, Leicester was captured and Fairfax marched north east to meet a new threat as it was assumed that the King would attack into East Anglia; Cromwell’s stamping ground.
The Royalist army remained around Leicester and a garrison was left there, some of the Royalist cavalry from the north wanted to return home and set off for Newark. This reduced the size of the Kings army to less than 10,000 men. Re-enforcements were expected from the west country but it was not known when. As often happened in this era rival armies once on the move were difficult to track and it was down to good scouting and intelligence to locate the opposing force. It was the Parliamentary scouts advancing from Daventry who first located the Royalist army. Fairfaxs force comprised at least 14,000 and it was obvious to the Royalists that they were outnumbered. Rupert wanted to avoid a battle until the promised re-enforcements had arrived but rivals within the Kings party had the Kings ear and he was overruled . The King would stand and fight.
Where you are standing on the ridge by the monument is just in front of the Parliamentary troops at the start of the battle and Cromwell and his New Model Army troops, highly motivated, highly trained and highly disciplined, are just behind you. In front of you the ground slopes away until it rises to the ridge opposite where the King’s army was drawn up. (See the plan of the battlefield which refers to the same woods and copses as the OS map). The battlefield is about a mile across and you can see it all. As was convention the time the foot soldiers were in the centre of the line with the cavalry on each side, Fairfax had also placed some musketeers in the Sulby hedges in the middle distance to your left; their job was to harass Rupert’s cavalry as they advanced.(In the following text I have referred to parts of each army by reference to their commander whose name appears on th battle map).
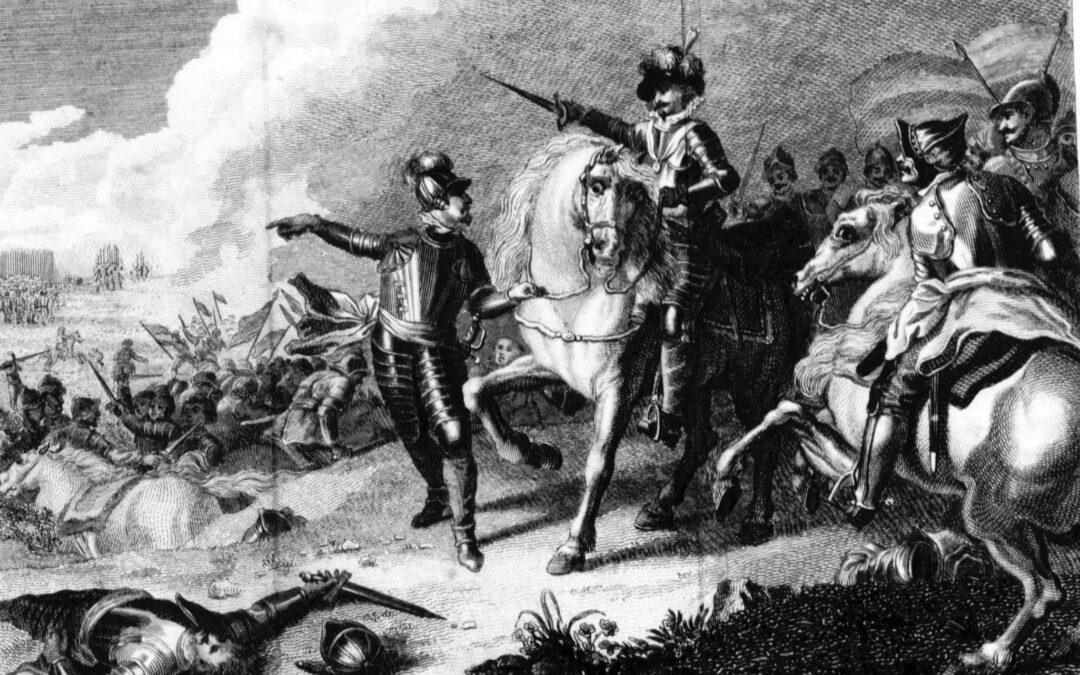
At about 10am the Royalist army started to move. Prince Rupert was keen to take and keep the initiative and his cavalry advanced and charged into Iretons Parliamentary cavalry on Fairfax’s left. On the way they suffered some losses from the fire from the musketeers in the Sulby hedges but the charge was successful and Iretons cavalry were largely driven from the field. The problem for the Royalist cavalry had always been discipline and instead of remaining on the battlefield they charged off and attacked the Parliamentary baggage train to carry off the loot and booty awaiting a victorious army.
In the meantime Astley’s foot soldiers had advanced down the opposite ridge and up the slope in front of you to attack the Parliamentary foot soldiers who moved down the slope to meet them. The two armies soon locked horns or Push to Pike as it was called. Both armies armed with long lances known as pikes and a form of axe called a halberd proceeded to spear and hack at each other. Astley’s Royalists had the upper hand and were soon pushing the Parliamentarian troops back up the slope. With Iretons cavalry largely out of the battle and Astley advancing things looked to be going well for the Royalists but at this point the tide of battle began to turn.
Just as Rupert had been successful in driving off Iretons cavalry so Cromwell behind you and to your right bore down on Langdales Royalist cavalry in front. Whereas Rupert’s cavalry had been difficult to control Cromwell kept a tight grip on his highly disciplined men who soon overcame Langdales much smaller force. The Royalist reserves had not been used and some accounts of the battle say that the King was going to lead a charge to relieve Langdale but was prevented by the Earl of Carnwath who said that the King would be riding to his death. Unfortunately in turning the Kings horse away some of the reserves took this as a signal to leave the battlefield and it took some time to rally them. This gave Cromwell the chance to turn into and attack Astleys flank and at the same time the musketeers from the Sulby hedges and the remnants of Iretons cavalry attacked the other flank and soon Astleys men were being driven back. By now an hour or so had passed and at last Rupert had been able to round up his cavalry and returned to the battlefield but it was too late. Langdale had been routed and Astley was giving way. Rupert’s horses were blown and there was no chance of him intervening to save the day. It was clear that the battle was lost and those that could made their escape leaving the foot soldiers to surrender or make a last stand which included Rupert’s elite Bluecoats. In the corner of the field at the bottom of the slope by the road you will find a memorial to their gallant action.
The battle was costly for the King with between 500 and 1000 killed and 4500 taken prisoner. Never again would the king command an army of this size, However as well as those losses the Kings baggage including his private correspondence was captured revealing his attempts to recruit Irish and French Catholics to his cause. This correspondence was published by Parliament and undermined the Kings cause even among his own supporters. Within a year the King was a prisoner of the Scots who handed him over to Parliament in whose custody he remained until his trial and execution in January 1649.
This is by necessity a short and simplified account of this important battle. Do find the time to go there, the area remains much as it did all those years ago. You can learn a lot about an event from reading about it But there is nothing like the same as being there!


